Flat roofs, despite their name, are not perfectly flat. Without a slight slope, they can easily become pools of water, leading to leaks and structural damage. Learning how to slope a flat roof for drainage is essential for maintaining the integrity of your building. This guide will walk you through the process, ensuring your roof efficiently sheds water and remains durable for years to come.
Why Proper Drainage Is Crucial
When water accumulates on a flat roof, it can lead to a host of problems. Prolonged exposure to standing water can cause leaks, promote mold growth, and accelerate the deterioration of roofing materials. In severe cases, it can even compromise the structural integrity of the roof itself.
Benefits of Effective Roof Drainage
Effective roof drainage prevents these issues, extending the lifespan of your roof and protecting your investment. Properly sloped flat roofs channel water towards drains or gutters, ensuring it flows off the roof rather than pooling on the surface. This reduces maintenance costs and prevents costly repairs down the line.
How to Slope a Flat Roof for Drainage
Step 1: Initial Inspection
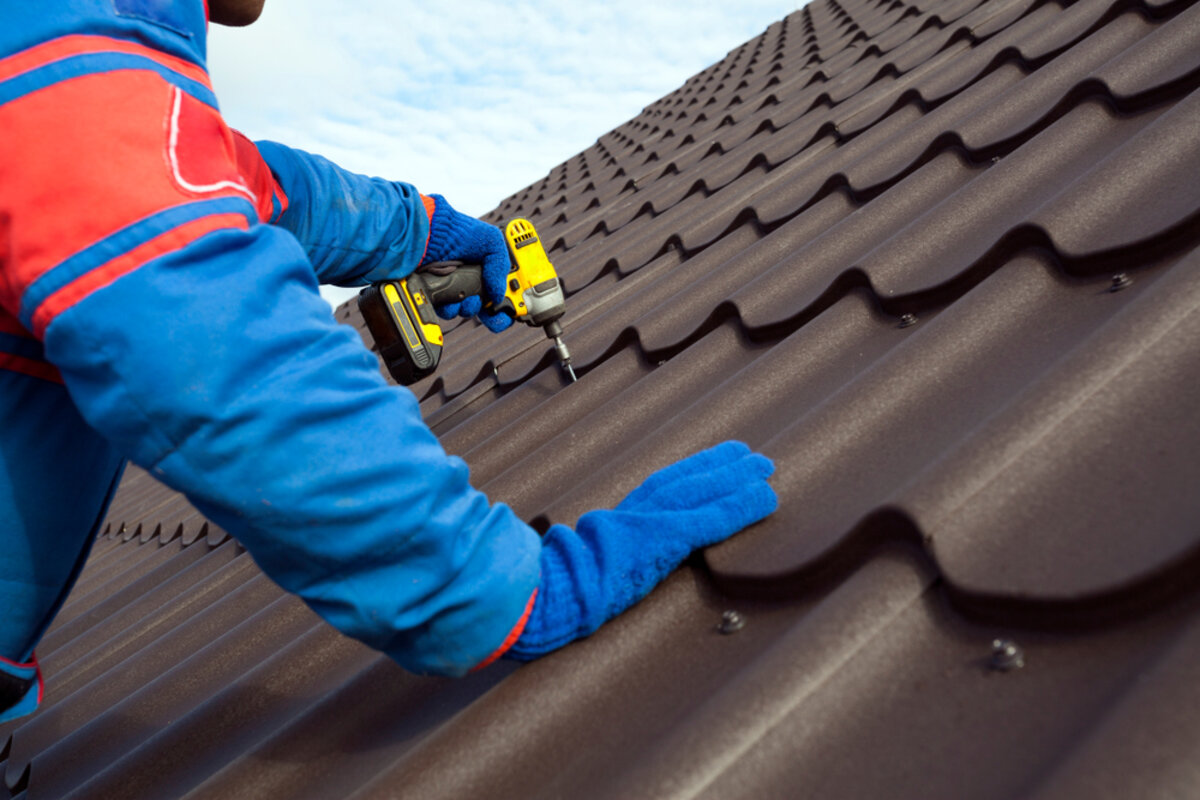
Before you can slope a flat roof for drainage, you need to assess its current condition. Begin with a thorough inspection to identify areas where water tends to accumulate. Look for signs of existing damage, such as cracks, blisters, or soft spots in the roofing material.
Step 2: Identifying Problem Areas
Take note of any low points on the roof where water tends to pool. These areas will be the focus of your sloping efforts. Additionally, check the existing drainage systems, such as gutters and downspouts, to ensure they are clear of debris and functioning properly.
Step 3: Determining the Slope Angle
The recommended slope for flat roofs is typically between 1/8 inch and 1/4 inch per foot. This gentle incline is sufficient to facilitate drainage without compromising the roof’s appearance or function. To determine the exact slope needed, measure the distance from the highest point of the roof to the lowest.
Step 4: Selecting Materials
There are several methods to create a slope on a flat roof. One common approach is to use tapered insulation, which provides both insulation and slope in one product. Another option is to build up the roof surface using lightweight concrete or asphalt. Each method has its own benefits, and the choice will depend on your specific needs and budget.
Step 5: Preparing the Roof Surface
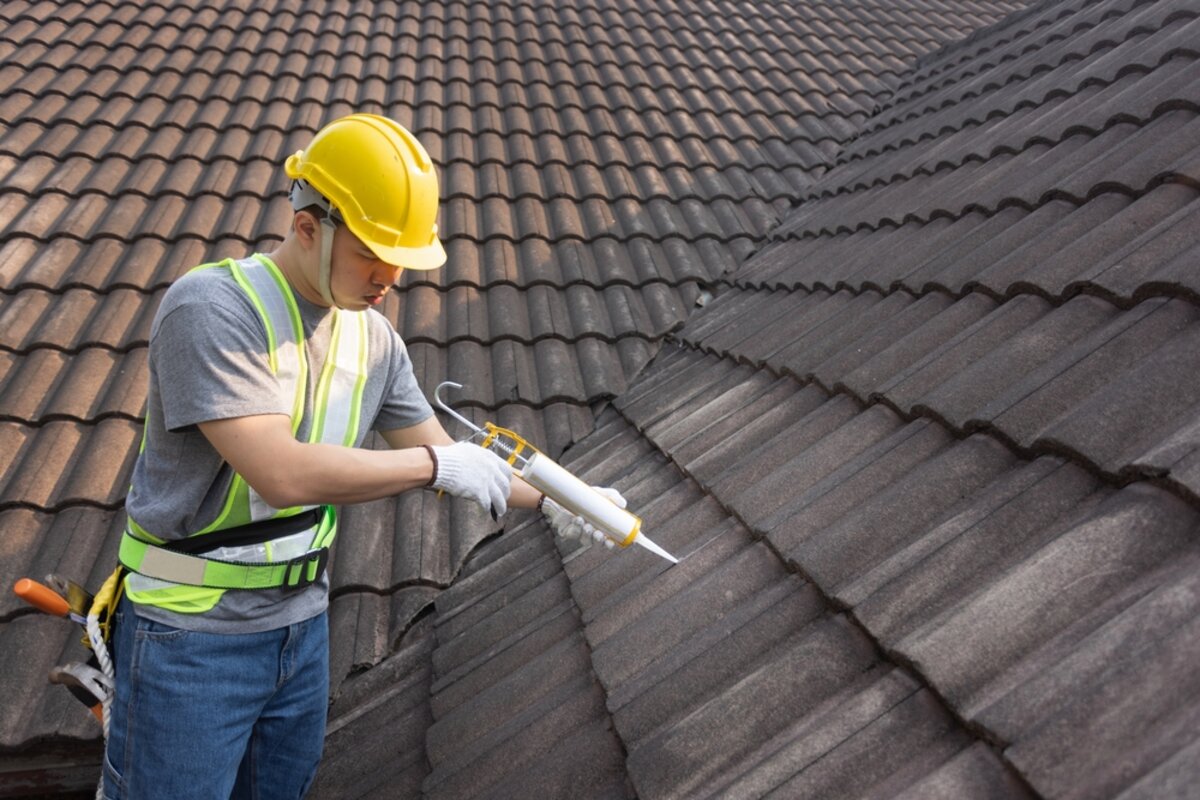
Start by cleaning the roof surface thoroughly. Remove any debris, dirt, or old roofing materials that could interfere with the new slope. Repair any existing damage to ensure a smooth, stable base for the new materials.
Step 6: Installing Tapered Insulation
If using tapered insulation, begin at the highest point of the roof and work your way towards the lowest. Lay the insulation panels in a staggered pattern to ensure even coverage. Secure each panel with roofing adhesive or mechanical fasteners, following the manufacturer’s instructions.
Step 7: Building Up with Concrete or Asphalt
For those opting to build up the roof surface, apply a layer of lightweight concrete or asphalt to create the desired slope. Use a trowel or screed to spread the material evenly, ensuring a consistent incline from the high point to the low point. Allow the material to cure completely before proceeding.
Step 8: Adding the Final Roofing Layer
Once the slope has been established, apply the final layer of roofing material. This could be a membrane, shingles, or another type of roofing appropriate for your climate and building type. Ensure the material is properly sealed and secured to prevent water infiltration.
Step 9: Installing or Adjusting Drains and Gutters
With the new slope in place, install or adjust the roof’s drainage systems. Position drains at the lowest points of the roof to catch and channel water effectively. Ensure gutters are securely attached and sloped to direct water away from the building.
Step 10: Regular Maintenance
Regular maintenance is key to keeping your flat roof drainage system functioning properly. Clean gutters and drains regularly to prevent clogs. Inspect the roof surface periodically for signs of wear or damage, and address any issues promptly.
Conclusion
Knowing how to slope a flat roof for drainage is essential for protecting your property from water damage and prolonging the life of your roof. By assessing your roof’s condition, planning an appropriate slope, and implementing effective drainage systems, you can ensure your flat roof remains functional and durable for years to come. Regular maintenance will further safeguard your investment, providing peace of mind and protecting your building from the elements. For professional assistance, contact Perfect Exteriors today.