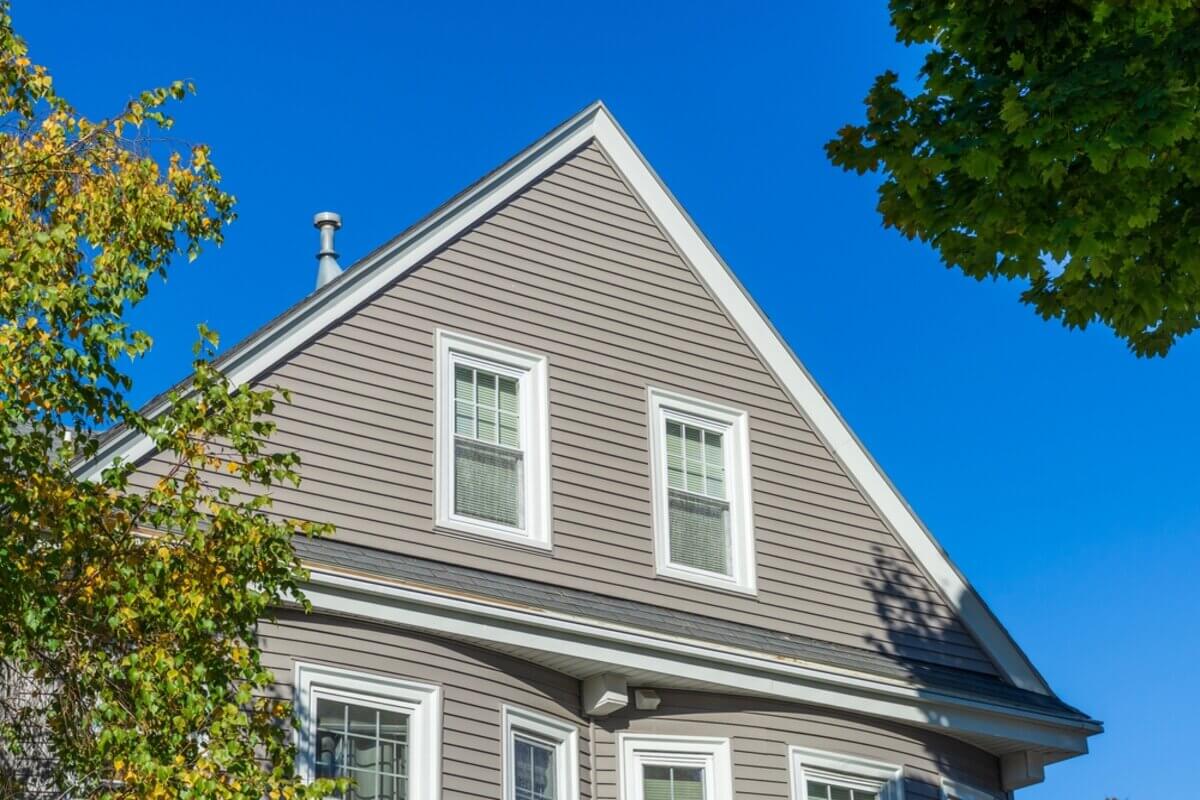
Installing Hardie board siding by yourself can be a rewarding project that enhances the appearance and durability of your home. This comprehensive guide will walk you through the process, from preparation to the final touches.
Tools and Materials You Will Need
Tools
- Measuring Tape
- Level
- Chalk Line
- Circular Saw with a Diamond Blade
- Hammer or Pneumatic Nail Gun
- Utility Knife
- Safety Goggles
- Dust Mask
Materials
- Hardie Board Siding
- Galvanized Nails or Screws
- Weather-Resistant Barrier
- Flashing Tape
- Caulk
- Caulking Gun
- Primer and Paint (if not using pre-painted boards)
Preparing the Surface
Preparation is crucial for a successful installation. Begin by inspecting the exterior walls for any damage. Repair any cracks or holes and replace any rotten wood. Ensure the surface is clean and dry before proceeding. Apply a weather-resistant barrier to the walls, securing it with a staple gun and overlapping the edges for complete coverage.
Measuring and Cutting the Hardie Board
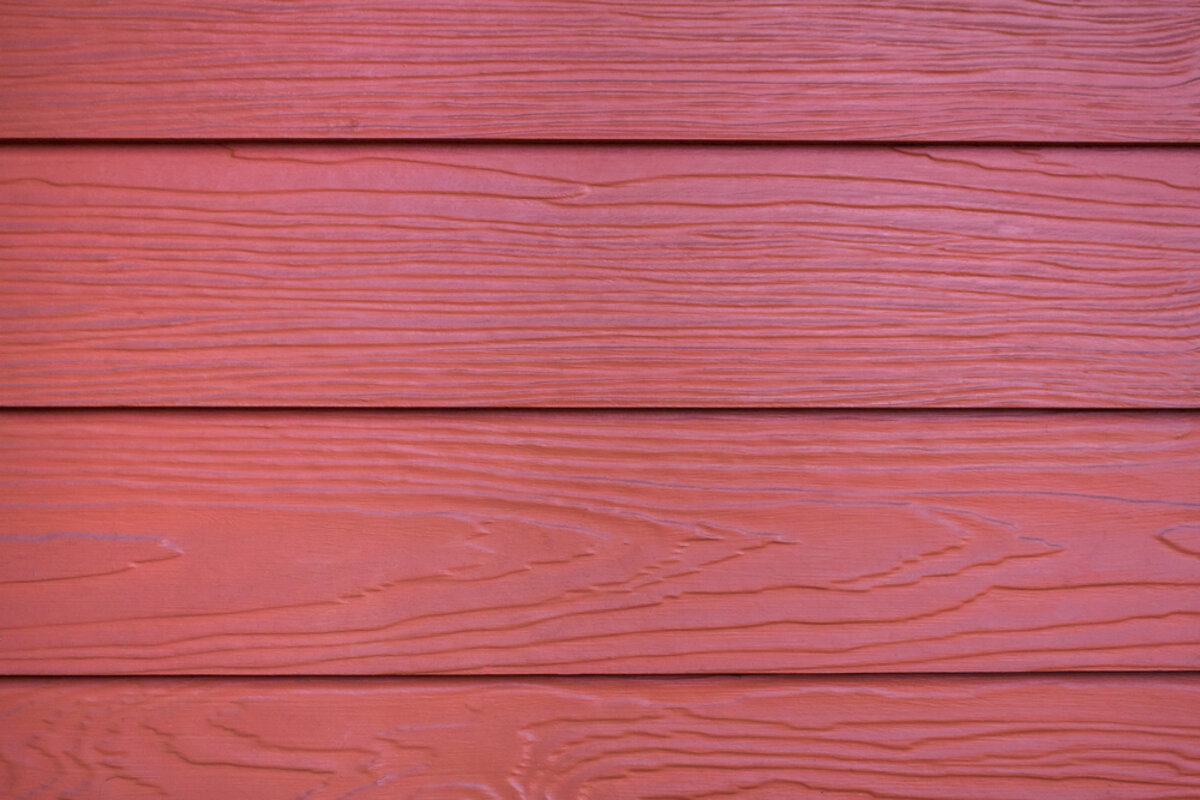
Accurate measurements and cuts are essential. Use a measuring tape to determine the height and width of each section. Mark these measurements with a chalk line. Cut the Hardie board that’s the color of your choosing to size with a circular saw equipped with a diamond blade. Always wear safety goggles and a dust mask when cutting to protect yourself from dust and debris.
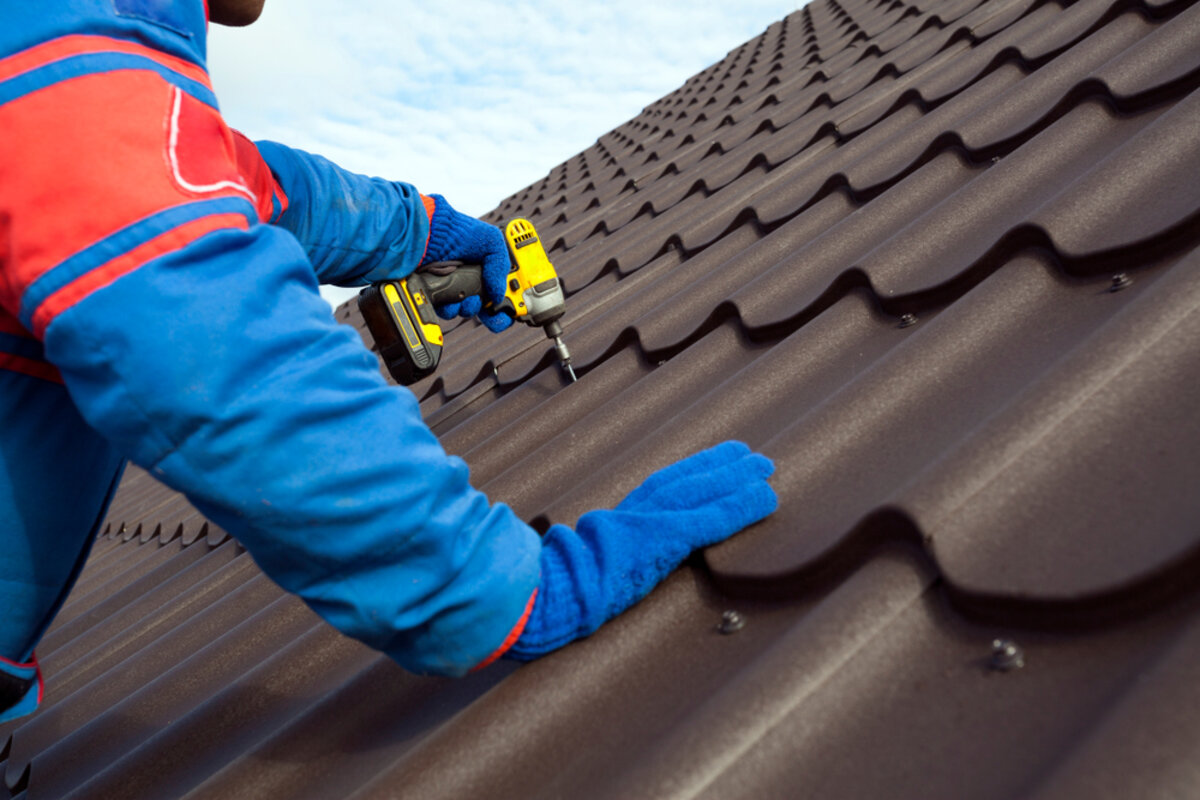
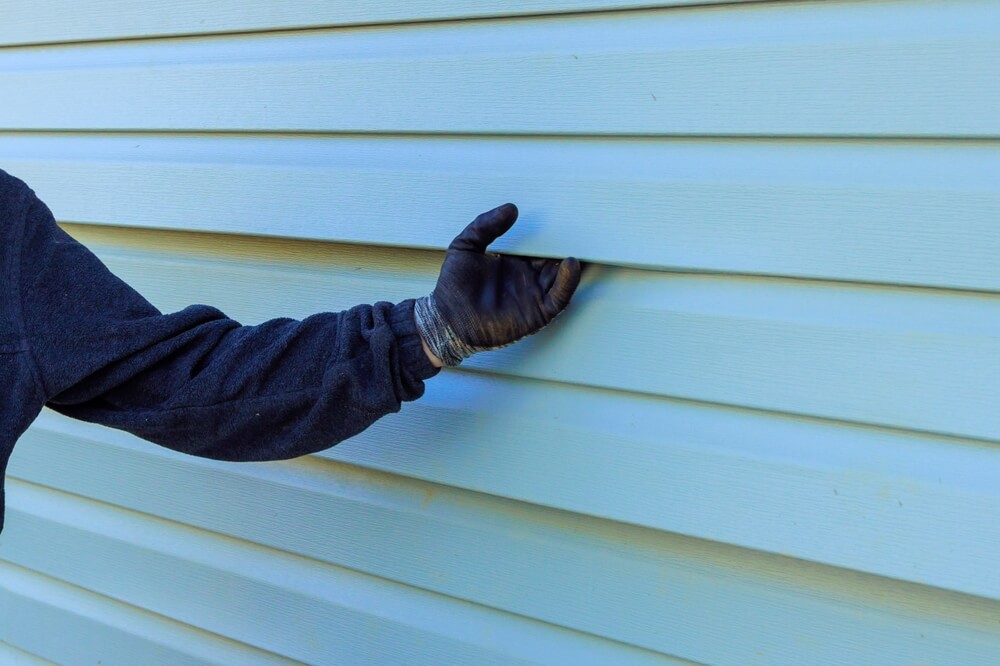
Installing the Hardie Board Siding
Begin at the bottom of the wall and work your way up. This prevents water from seeping behind the siding. Ensure the first row is straight using a level, as this will affect the entire installation. Secure the boards to the wall using galvanized nails or screws, placing them at least ¾ inch from the edge and 1 inch from the ends of the boards. Each subsequent row should overlap the previous one by at least 1 ¼ inch, which ensures water runs off the surface without seeping behind the boards. Use a chalk line to keep the rows straight and evenly spaced.
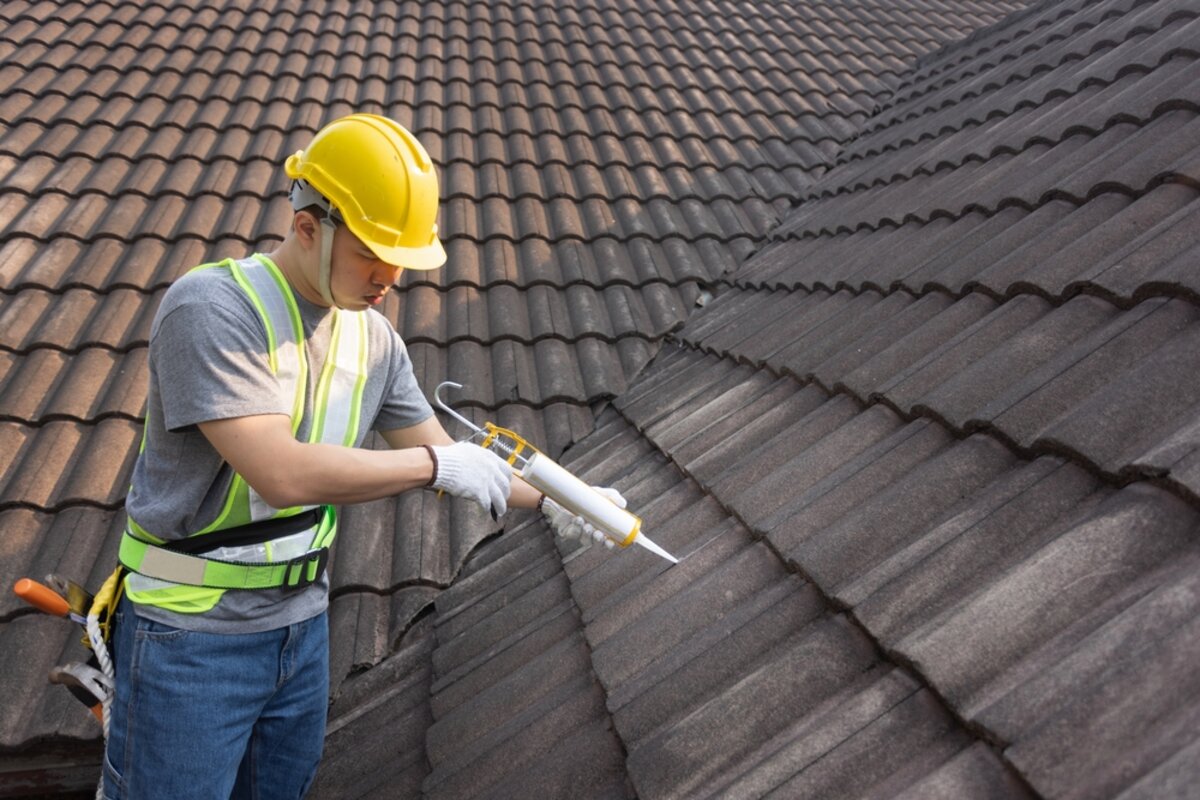
Finishing Touches
After installing all the boards, apply caulk to all joints and seams to prevent moisture from entering. Use a high-quality, paintable caulk compatible with Hardie board, and smooth it with a utility knife or your finger for a clean finish. If using unpainted boards, apply a coat of primer followed by at least two coats of exterior paint designed for fiber cement siding. Allow the paint to dry completely between coats.
Conclusion
Proper maintenance will keep your siding looking great and performing well for years. Clean it annually with a garden hose and a soft brush, avoiding pressure washers. Inspect regularly for damage, addressing cracks, gaps, or loose boards promptly. Repaint every 10-15 years to maintain its appearance and protection.
By following this guide, you can successfully install Hardie board siding by yourself and enjoy the satisfaction of a job well done. With proper preparation, precise measurements, and attention to detail, your home’s exterior will look beautiful and be well-protected for years to come. For professional assistance or more information, contact Perfect Exteriors today.