Are you planning a home renovation or looking to replace outdated vinyl siding? Removing vinyl siding can be a straightforward task if you follow the right steps. This comprehensive guide will walk you through the process, ensuring a smooth and efficient removal. Whether you’re a DIY enthusiast or a homeowner considering a siding upgrade, this guide will provide all the essential information you need.
Why Remove Vinyl Siding?
Vinyl siding has been a popular choice for homeowners due to its durability, low maintenance, and cost-effectiveness. However, there are several reasons why you might consider removing it. Over time, vinyl siding can become damaged due to weather conditions, impacts, or aging. You might also want to replace vinyl siding with more modern or aesthetically pleasing materials. Additionally, removing vinyl siding allows for better insulation installation, improving energy efficiency. Understanding why you’re removing the siding helps in planning the project effectively and ensuring you have the right tools and materials.
Tools and Materials You’ll Need
Before you start the removal process, gather the necessary tools and materials. These include a flat pry bar, hammer, zip tool (siding removal tool), utility knife, safety goggles, gloves, ladder, and trash bags or containers. Having all the necessary tools on hand will make the removal process smoother and safer.
Step-by-Step Guide to Remove Vinyl Siding
Preparing the Area
Begin by prioritizing safety: wear safety goggles and gloves to protect yourself from sharp edges and debris. Clear the work area of any obstacles, such as patio furniture, plants, or garden hoses, and set up your ladder securely on a stable surface to reach the higher sections of the siding.
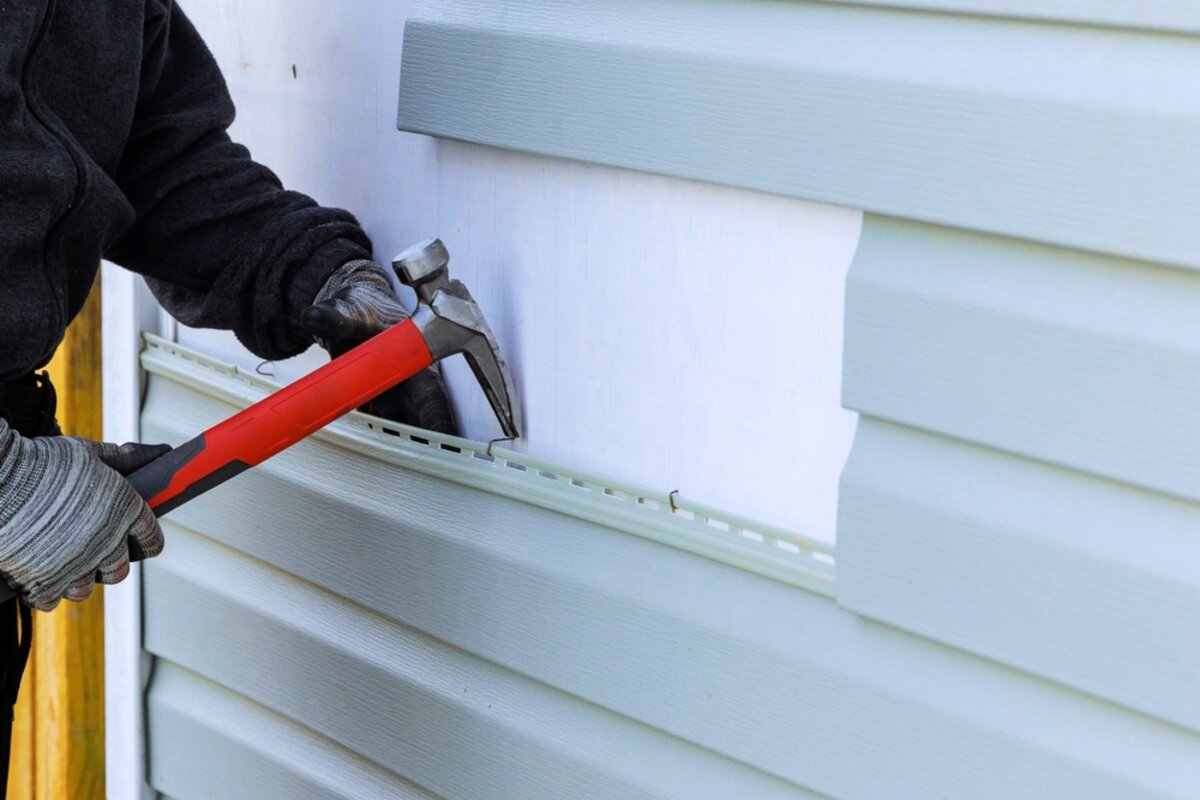
Removing the Vinyl Siding
Start at the bottom of the siding and work your way up. Find a loose piece of siding or use a zip tool to unlock the first piece. Slide the zip tool under the bottom edge of the siding and gently pull it away from the wall to unlock the interlocking mechanism. Use the flat pry bar to gently pry the siding away from the wall, working slowly to avoid damaging the underlying materials. As you lift the siding, you’ll encounter nails or screws securing it to the wall; use a hammer or screwdriver to remove them.
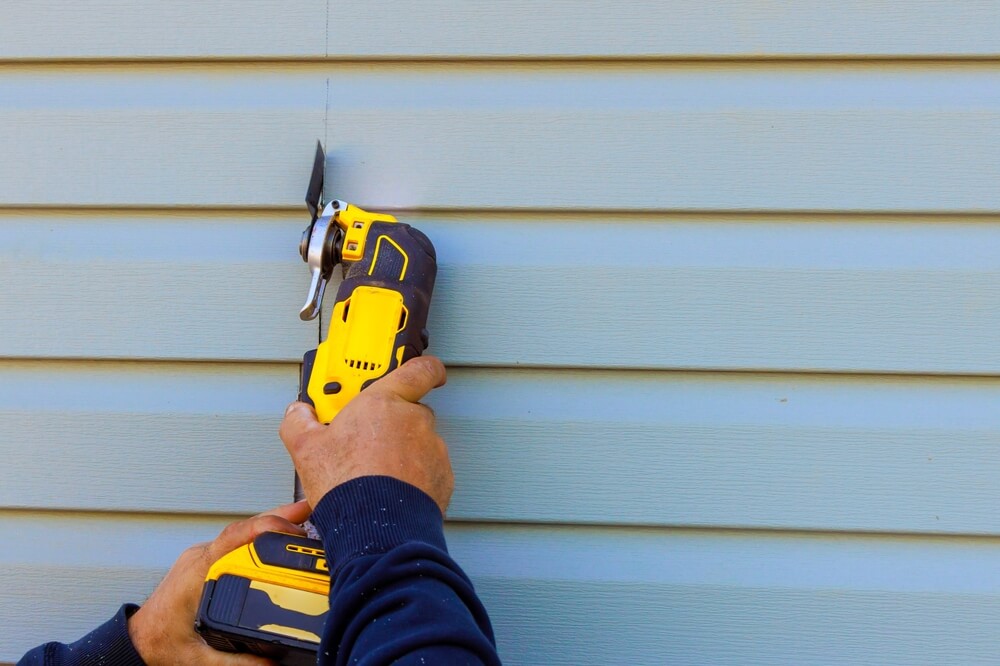
Dealing with Difficult Areas
Corners and trim pieces can be tricky. Use the utility knife to cut through caulking or sealant, then gently pry them off. Carefully remove siding around windows and doors to avoid damaging the frames, possibly using a combination of the pry bar and zip tool.
Handling Removed Siding
Once you’ve removed the vinyl siding, you’ll need to decide what to do with it. Many recycling centers accept vinyl siding, so check with local facilities to see if they take it. If the siding is in good condition, consider reusing it for another project or donating it. If recycling or reusing isn’t an option, dispose of the siding according to local regulations.
Preparing for New Siding
With the old vinyl siding removed, you can now prepare for installing new siding or making other home improvements. Inspect the wall for any damage or issues with the underlying structure and repair any problems before installing new siding. If you’re upgrading your home’s insulation, now is the perfect time to install new insulation materials. Finally, select the new siding material that best fits your needs and aesthetic preferences.
Tips for a Successful Project
Take your time to avoid mistakes and damage. Rushing can lead to errors. Use proper safety equipment and techniques to avoid injury. If the project feels overwhelming, consider hiring a professional for assistance.
Conclusion
Removing vinyl siding may seem like a daunting task, but with the right tools, preparation, and guidance, it can be a manageable DIY project. By following this 2024 guide, you can ensure a successful removal process, making way for new and improved siding options. Happy renovating! If you need professional assistance, contact Perfect Exteriors today.