Have you ever installed a new window, only to realize that it doesn’t fit quite right? Perhaps there’s a gap letting in drafts, or maybe it’s just too tight to open smoothly. Accurately measuring a window for replacement is crucial to ensure your new window fits perfectly and functions optimally. Here’s a comprehensive guide to help you measure your windows correctly, preventing common issues and ensuring a seamless installation.
Tools You’ll Need
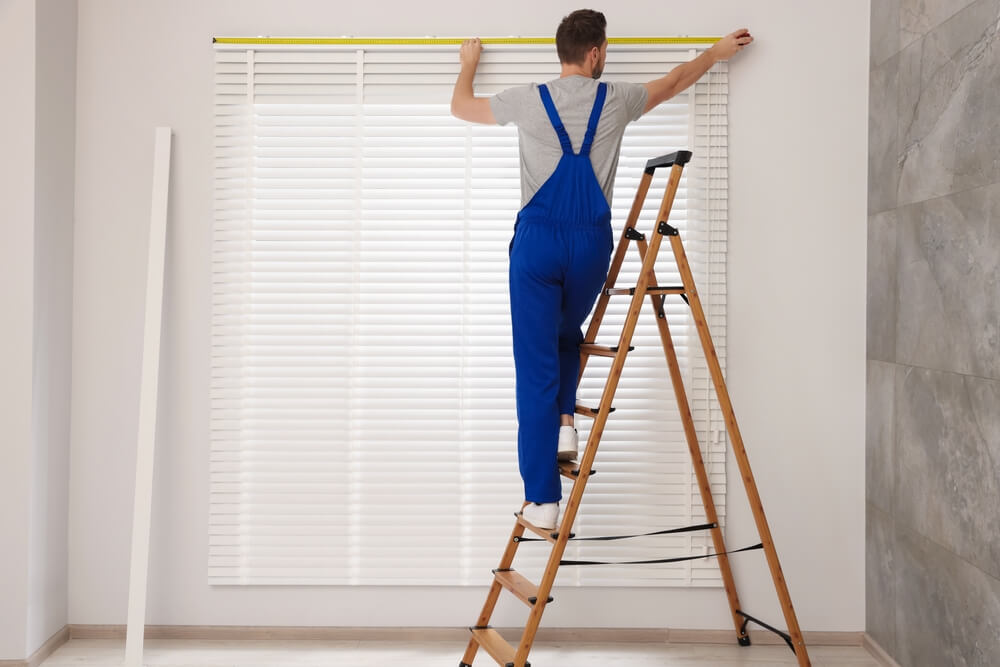
Before you start measuring, gather the necessary tools. Having everything at hand will make the process smoother and more efficient. You’ll need a sturdy tape measure, a notepad and pen, a step ladder if you’re measuring high windows, and a level to ensure your measurements are straight and accurate.
Steps to Measure a Window for Replacement
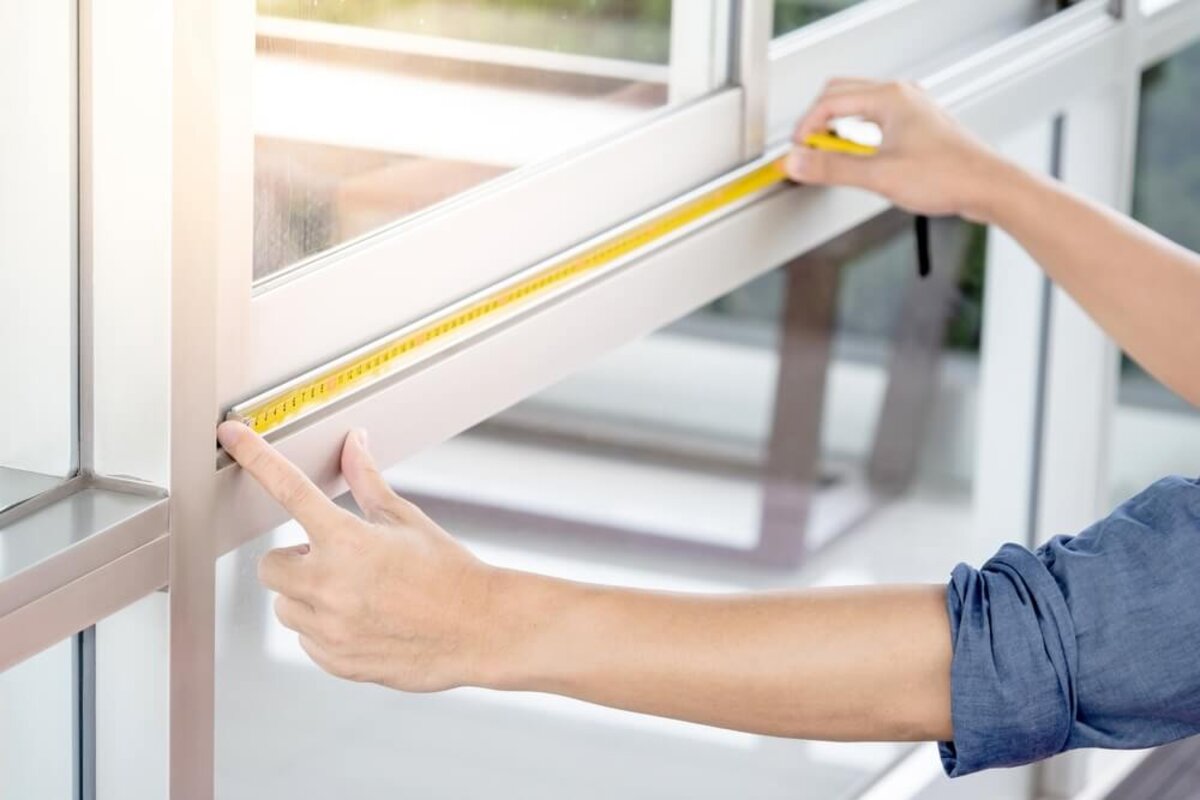
Measure the Width
Begin by measuring the width of the window. This is typically the most crucial measurement as windows often vary in width. Measure the width at three points: across the top, middle, and bottom of the window from jamb to jamb. Record all three measurements and use the smallest one. This ensures the new window fits within the narrowest part of the opening.
Measure the Height
Next, measure the height of the window opening. Like with the width, you’ll take multiple measurements and use the smallest one. Measure the height at the left side, center, and right side of the window from the sill to the top of the window opening. Again, use the smallest measurement to ensure a proper fit.
Measuring the Depth
Measure the depth from the interior trim to the exterior trim. This will give you the window frame’s depth. Ensuring the new window’s frame will fit comfortably within this depth to avoid installation issues.
Common Mistakes to Avoid
Incorrect Measurements
One of the most common mistakes when measuring a window for replacement is taking inaccurate measurements. Always measure multiple times to ensure accuracy.
Ignoring Depth
Ignoring the depth of the window frame can lead to improper fitting. Always include depth in your measurements to ensure a proper fit.
Measuring Only One Side
Windows are often not perfectly square. Measuring only one side can lead to ordering a window that doesn’t fit. Always measure at least three points for width and height.
Tips for Accurate Measurements
Double-Check Your Work
Measure each dimension at least twice to confirm accuracy. It’s easy to make a small mistake that could result in a poorly fitting window.
Use the Right Tools
Using a quality tape measure and level will help ensure your measurements are accurate. A flimsy tape measure can lead to errors.
Consult a Professional
If you’re unsure about your measurements, it’s always a good idea to consult with a professional. Many window replacement companies offer measurement services to ensure accuracy.
Conclusion
Measuring a window for replacement may seem straightforward, but attention to detail is essential to ensure a perfect fit. By following these steps and avoiding common mistakes, you can measure your windows accurately and confidently order replacements. Accurate measurements lead to a better fit, improved energy efficiency, and a smoother installation process. Ensure your next window replacement project starts on the right foot by measuring correctly. If you need assistance, contact Perfect Exterior today for professional measurement services and expert advice.